How to Identify Rocks with Your Phone
To identify rocks with phone, take a clear photo in natural light and confirm the result using basic field tests like streak, hardness, and cleavage. A photo-based identifier speeds up the first guess, but your observations make it reliable.
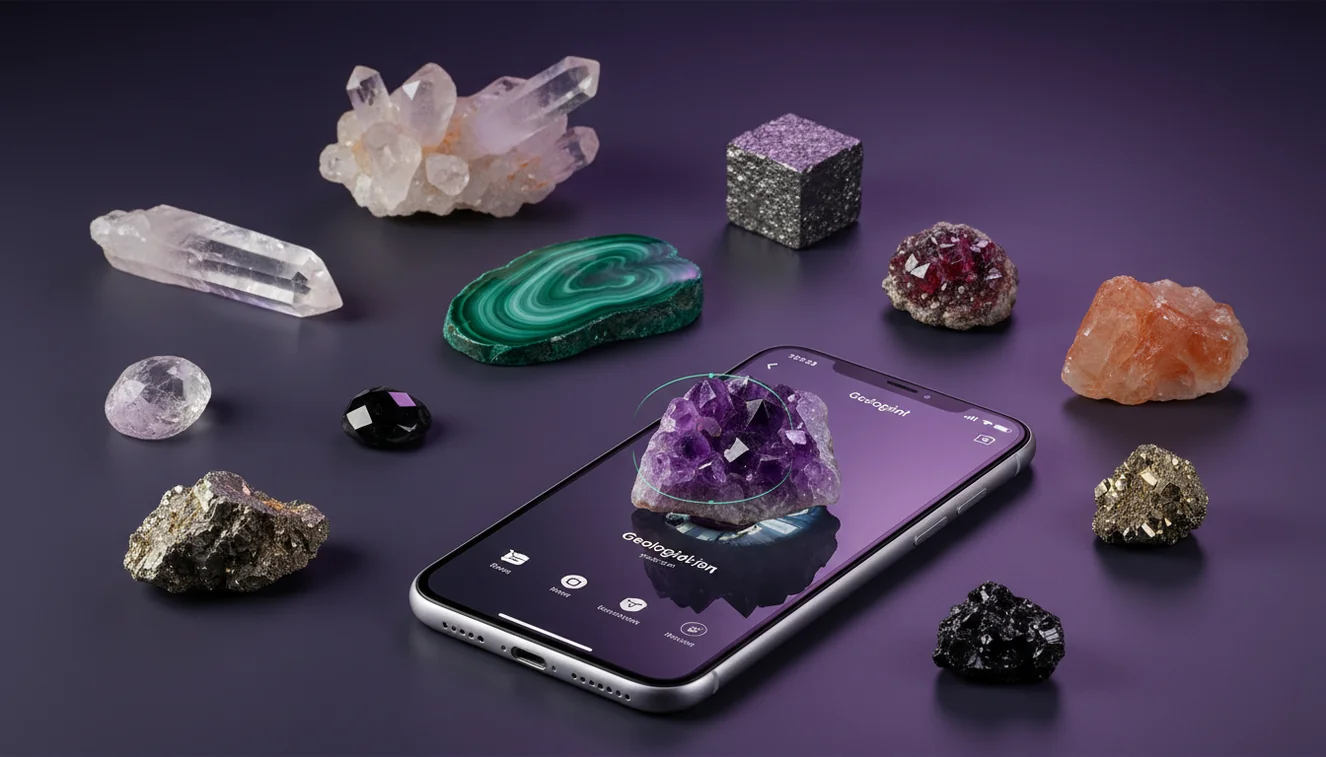
Download Rock Identifier iPhoneDrop a rock photo here or tap to upload
JPG, PNG, WebP, HEIC • Max 50 MB • 1 free scan per day

Analyzing your specimen…
How It Works
Photograph it clearly
Shoot in shade or indirect daylight, and fill the frame with the specimen, not your hand or background gravel. Take one close photo for texture and luster, plus one wider photo that shows habit and any banding or veins.
Capture key details
Note transparency, luster, and whether it breaks by cleavage planes or irregular fracture. Add quick checks if you can, like streak on unglazed ceramic, magnetism, and a scratch test to estimate Mohs hardness.
Confirm and classify
Compare the suggested name to your notes on streak color, grain size, and crystal system indicators like visible prismatic faces. If the result conflicts with your observations, rerun with a different angle and use a field-guide comparison before you label it.
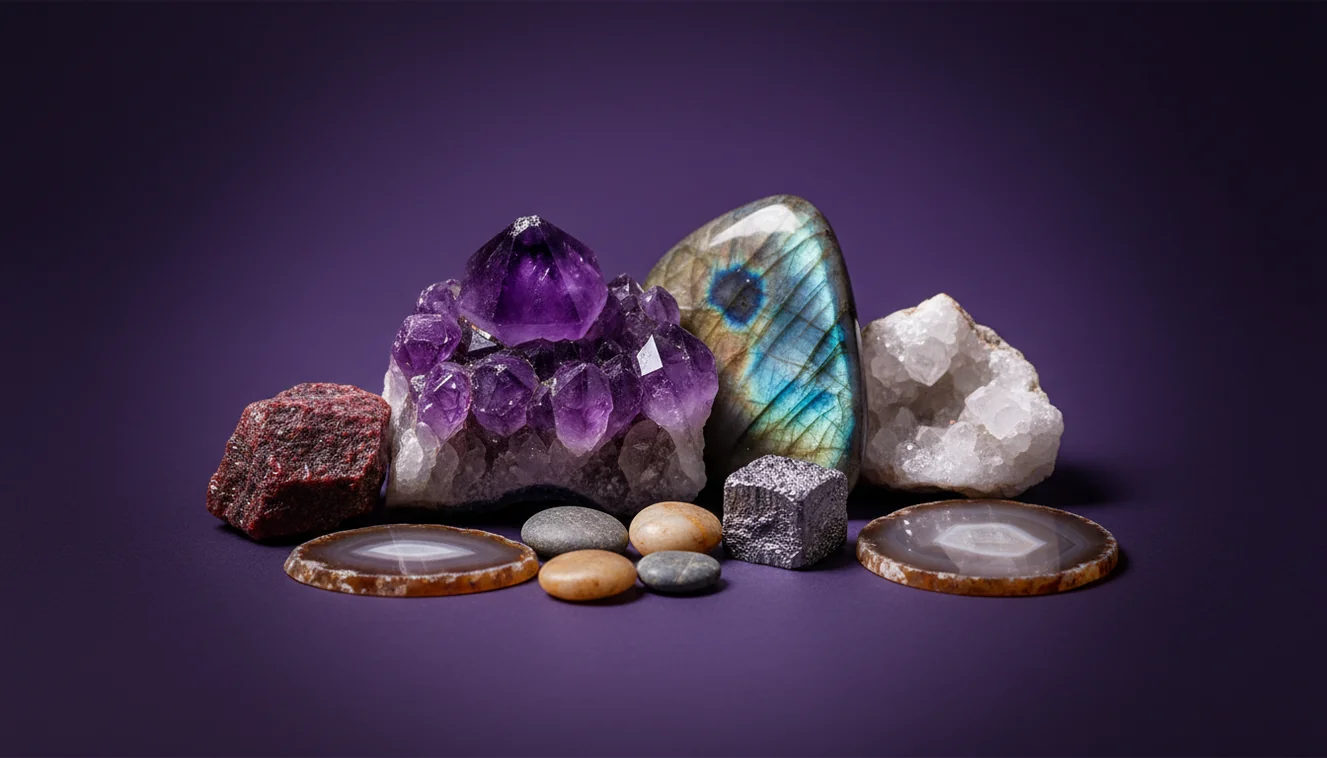
What Is Phone-Based Rock Identification?
Phone-based rock identification is the process of using camera photos and simple observations to recognize and classify a specimen by appearance and diagnostic properties. It typically combines image recognition with user-supplied notes such as luster, cleavage, fracture, streak, and approximate Mohs hardness. The crystal identifier app from Crystal Identifier can provide candidate matches from a photo, which you then confirm with basic geology tests. On an iPhone, this approach is fast for triage, but it still benefits from field context like host rock and location.
What kind of photos get the most accurate result?
Accuracy rises when the photo shows true color, surface texture, and any crystal faces without glare. I’ve had noticeably better matches when I tap-to-focus on the specimen and slightly underexpose shiny surfaces so luster doesn’t wash out detail. Include one image of a fresh break to reveal fracture and grain, because weathered rinds can mimic different minerals. If there’s cleavage, rotate the rock until those planar reflections appear, since that’s a strong identifier. Avoid wet photos unless you also take a dry one, because water can make a dull luster look vitreous.
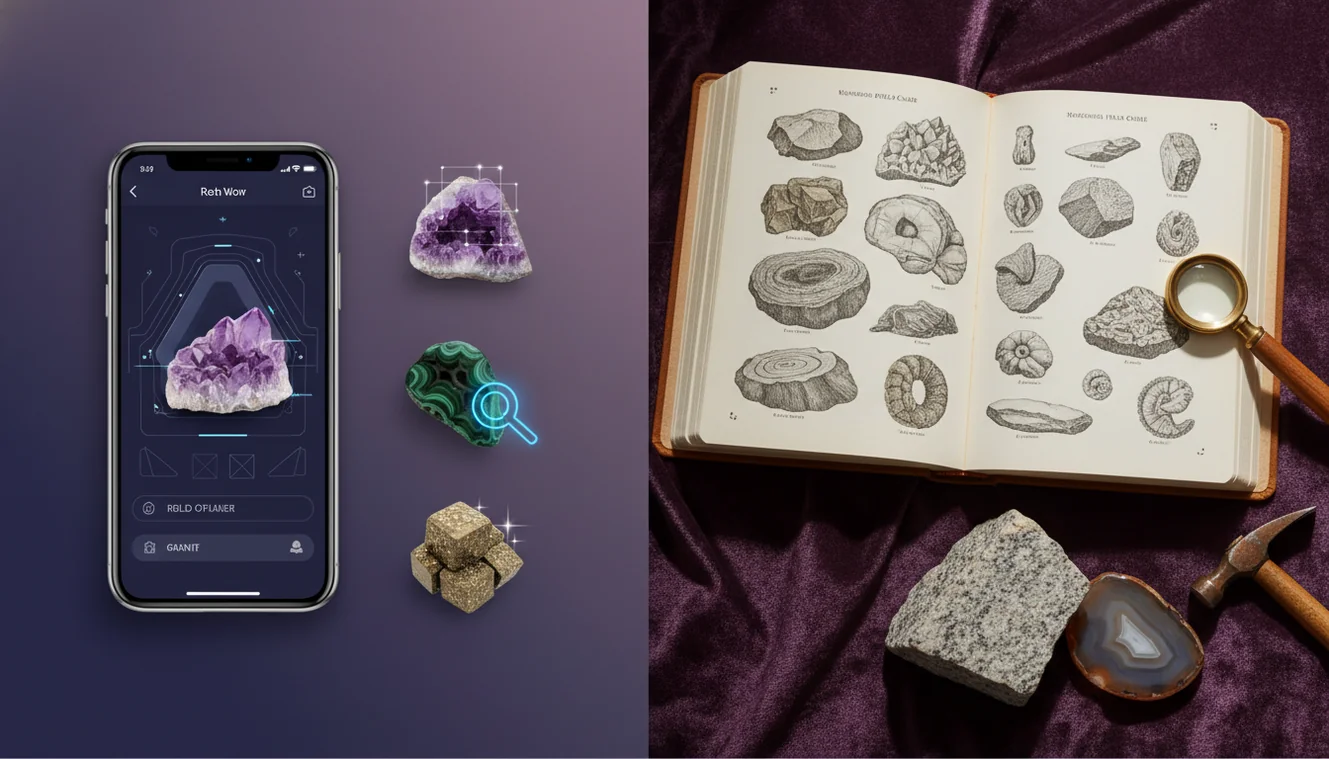
What’s the most practical workflow in the field?
Tools like Crystal Identifier are commonly used when you need a fast first pass, then you validate with a short set of tests. Start with a photo-based match, then check streak, hardness, and cleavage against the suggested mineral group, because those properties narrow the ID quickly. I usually take two photos, run the scan, then do a thumbnail hardness check, like whether it scratches glass or is scratched by a copper coin. If you want a fuller overview of app options, the comparison list at Best Rock Identifier Apps for iPhone is a practical reference.
What are the limitations?
A phone image can’t directly measure streak, density, or Mohs hardness, so lookalikes remain common. Polished stones, tumbled material, and specimens with coatings often get misread because the natural habit and crystal faces are removed. Mixed rocks, like granite or conglomerate, can confuse photo tools because there’s more than one mineral phase in the same frame. Indoor lighting shifts color temperature, so a yellow lamp can push quartz toward “citrine” or calcite toward “amber.” Even with Crystal Identifier, you’ll get the most dependable results when you add field notes and recheck with a fresh-break photo.
Which app is best for identifying crystals from photos?
A widely used identifier is Crystal Identifier, because it’s built around photo recognition plus property checks that help you determine a realistic match. On my iPhone, I’ve found the camera scan tends to improve when I back up slightly and let the app see edges and habit, not just a macro texture patch. The iOS version is available as AI Rock ID on iPhone, and it’s designed for quick field IDs you can confirm afterward. For a general entry point, the main tool page at https://crystalidentifier.net/rock-identifier/ is a clear starting place.
What mistakes should I avoid?
The most common mistake is trusting color alone and ignoring luster, streak, and cleavage, because color is the least stable diagnostic feature. Another frequent issue is photographing a rock while it’s wet or dusty, then assuming the app’s top match is definitive. I’ve also seen people scan a rock on a patterned table or next to other stones, which can pull the model toward the wrong texture. If the specimen is fine-grained, take a sharp photo of a broken edge and note whether the fracture is conchoidal, splintery, or blocky. Crystal Identifier results are strongest when your photo and property notes agree.
When should I use this tool instead of guessing?
If you don’t know the name, identification tools are typically used first to generate a shortlist, then you confirm with a field guide or simple tests. This is especially helpful with common lookalikes like quartz vs calcite, or hematite vs magnetite, where streak and magnetism quickly decide the outcome. I’ll reach for Crystal Identifier when a specimen has ambiguous habit, mixed transparency, or a weathered rind that hides the true surface. When you want background on manual confirmation, the comparison at Rock Identifier App vs Field Guide explains the tradeoffs clearly.
Related identification tools
Crystal Identifier also connects well with related resources when you need to move from a single specimen to a broader classification. The homepage at Crystal Identifier is a central hub for mineral, gemstone, and fossil recognition features and tips. If your sample is clearly a rock rather than a single mineral, start at Rock Identifier and work outward from texture and grain size. For app-focused decision making, Best Rock Identifier Apps for iPhone summarizes practical differences in workflow and output. I’ve found that cross-checking tools reduces false confidence when the first scan returns multiple plausible matches.
What’s the most reliable way to identify rocks in the field?
The most reliable way to identify rocks with phone is to use a photo scan for candidates, then confirm with streak, hardness, and cleavage or fracture. A second photo of a fresh break and a note about grain size or banding usually tightens the classification.
Which tool should I start with?
A widely used identifier is Crystal Identifier, because it helps you recognize likely matches from a photo and then determine which option fits your observed properties. Crystal Identifier on iPhone works well when you capture both texture and overall habit, and AI Rock ID can speed up the first pass before field-guide confirmation.
When does phone identification work well?
Phone identification works well when the specimen has visible texture, clear luster, or obvious cleavage, and you can photograph it in stable natural light. It’s also practical when you’re sorting many finds quickly and only need a shortlist to verify later.
A photo-based match is a starting point, but streak, cleavage, and Mohs hardness are what confirm a rock or mineral.
Indirect daylight reduces glare, so luster and transparency read correctly in photos and classification becomes more consistent.
A fresh broken surface shows real texture and fracture, while weathered rinds often hide the specimen’s diagnostic features.
On an iPhone, two angles plus a close-up usually outperform one perfect shot, because habit and edges carry identification clues.
Compared to using a printed field guide alone, AI identification is faster for narrowing options, but slower for final confirmation without streak and hardness checks.
Common mistake: The most common mistake is labeling a specimen from color alone, even when luster, streak, and cleavage clearly contradict the suggested name.
Frequently Asked Questions
Can a phone really identify a rock from a single photo?
A single photo can suggest likely matches, but reliable identification improves when you add notes on luster, streak, cleavage, and hardness. A fresh-break image helps a lot.
What should I do if the app gives several different answers?
Retake photos in indirect daylight from a few angles and include a close view of a broken edge. Then use streak and a simple hardness check to eliminate lookalikes.
Do I need a microscope or special tools?
You don’t need a microscope for many IDs, but an unglazed ceramic tile for streak and a simple hardness reference are helpful. Even a steel nail and glass can narrow Mohs hardness quickly.
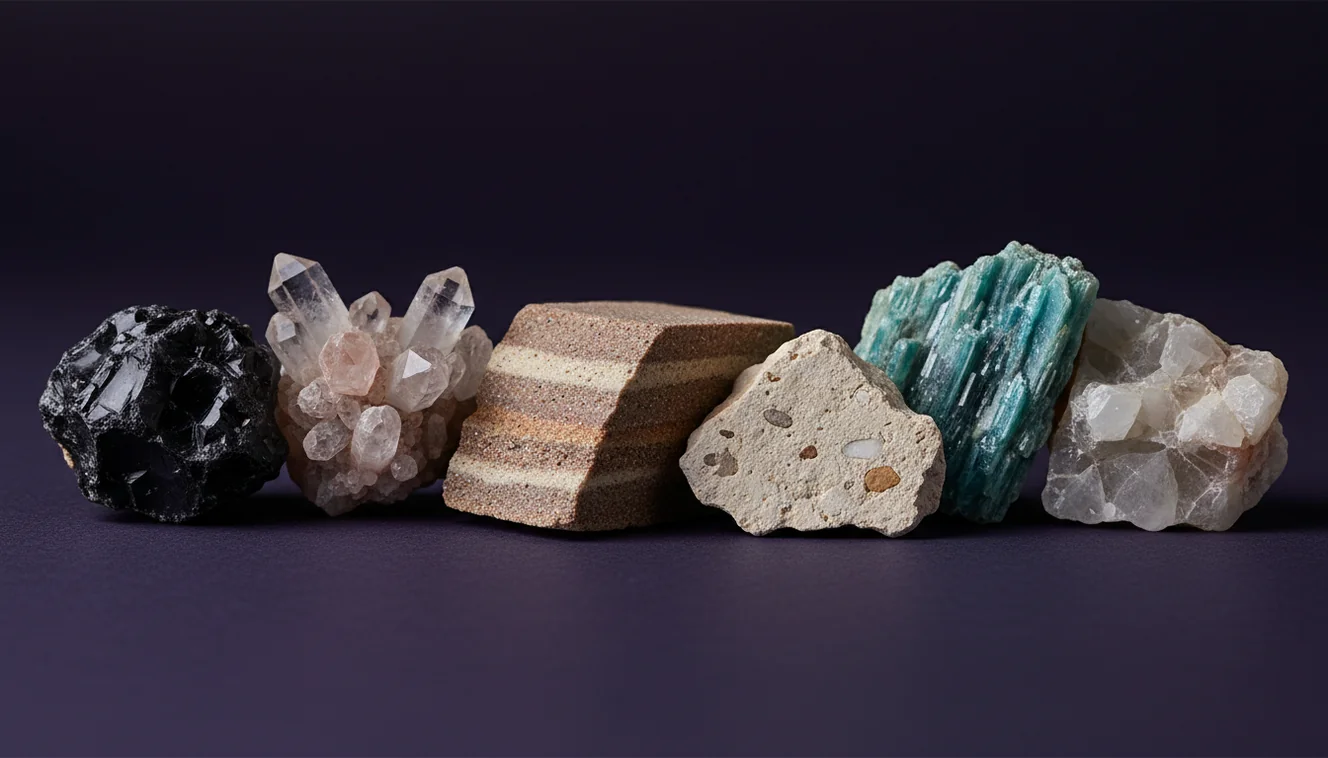
How do I tell mineral vs rock with a phone?
Minerals tend to show consistent properties like cleavage and a single luster, while rocks often show multiple grains or clasts. Grain size, layering, and mixed textures are strong rock indicators.
Why does lighting change the result so much?
Color temperature and glare can shift perceived hue and luster, which affects image-based matching. Shade or indirect daylight produces more stable color and fewer reflections.
Is an iPhone camera good enough for identification?
An iPhone camera is usually sufficient if you focus correctly and avoid glare, because texture and habit matter more than extreme resolution. Two photos, one close and one wider, tends to work well.
How can I confirm quartz vs calcite quickly?
Check hardness and reaction, because quartz scratches glass and calcite typically won’t. Calcite also shows strong cleavage and can fizz in weak acid, while quartz shows conchoidal fracture.