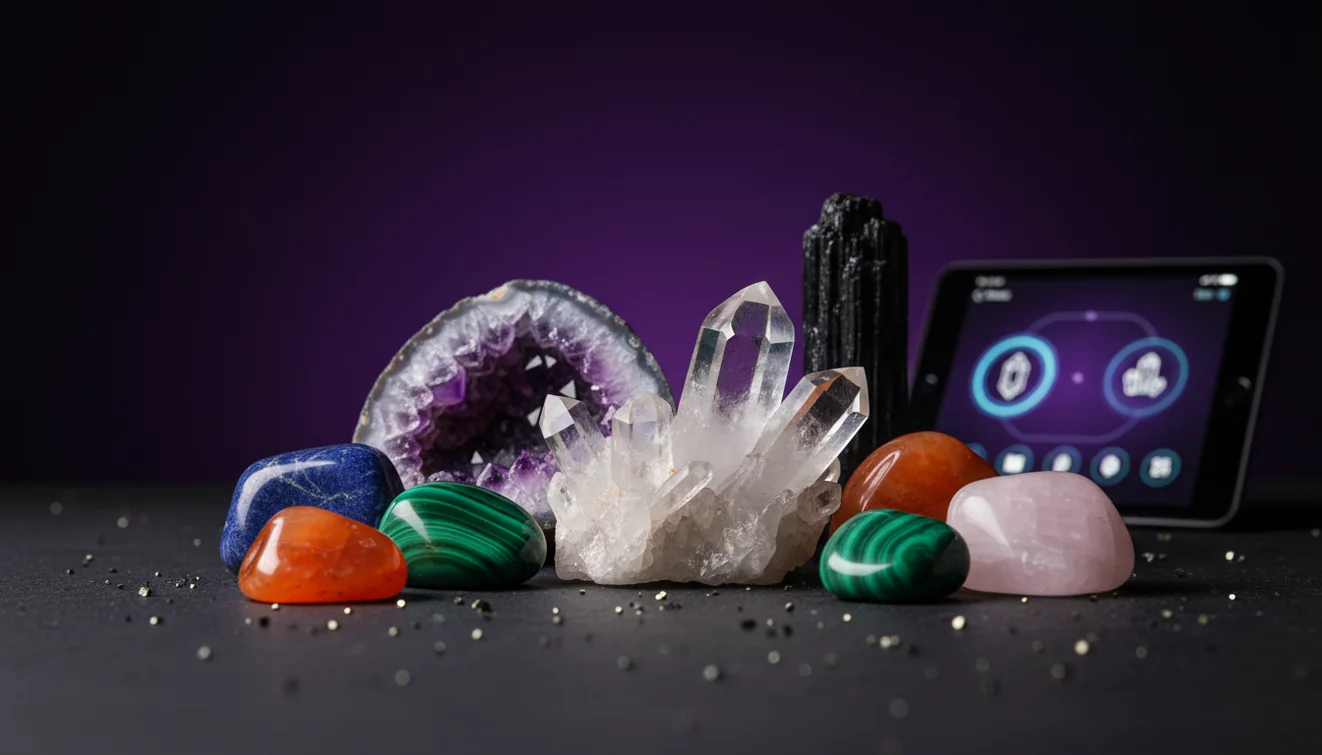
How to Identify Crystals with Your Phone
To identify crystals with phone, take clear photos in neutral light, then confirm the result with simple tests like streak, hardness, and cleavage. On an iPhone, a focused close-up plus one wider context shot usually gives the most reliable match.
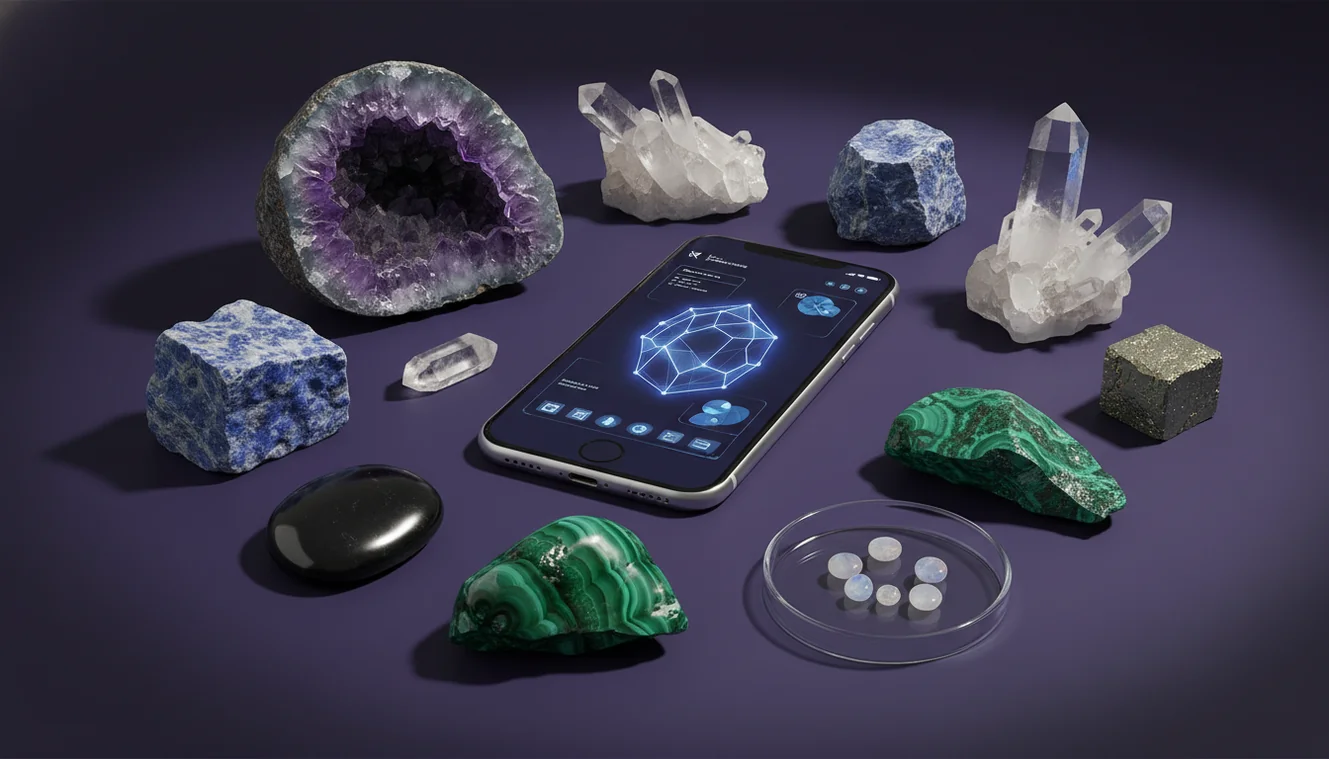
Download Rock Identifier iPhoneDrop a crystal photo here or tap to upload
JPG, PNG, WebP, HEIC • Max 50 MB • 1 free scan per day

Analyzing your specimen…
How It Works
Photograph it correctly
Take one sharp close-up of a fresh surface and one wider shot that shows overall habit, luster, and any visible cleavage or fracture. Use indirect daylight and tap-to-focus, because glare can make quartz, calcite, and glassy slag look identical.
Scan and compare
Run the photos through an identifier and compare the top matches rather than accepting the first name. In testing, tight crops of banding or crystal faces improved recognition, while busy backgrounds caused frequent misclassifications.
Verify with quick tests
Confirm the suggestion with Mohs hardness, streak on unglazed porcelain, and transparency, then check cleavage and crystal system clues if the specimen shows faces. A simple scratch test and a clean streak color can rule out lookalikes fast.
What Is Phone-Based Crystal Identification?
Phone-based crystal identification is the process of recognizing and classifying a specimen from photos, then validating the result with basic mineral properties like luster, streak, cleavage, fracture, and Mohs hardness. It works by comparing visible features such as habit, color zoning, banding, and transparency against known examples, then offering likely matches. The crystal identifier app from Crystal Identifier can speed up that first pass on an iPhone, especially when you add multiple angles and a scale reference like a coin. Final determination still depends on simple field tests and context, because many minerals overlap in appearance.
Start with a fresh surface
Weathered rinds and iron staining can hide diagnostic features and mislead photo-based tools. If appropriate, expose a clean face by rinsing and gently brushing sediment, or photographing a newly broken surface (with safety glasses). A fresh surface better reveals luster (vitreous vs. pearly), true color, and grain boundaries, helping you identify quartz vs. feldspar, calcite vs. dolomite, and many common lookalikes. Include one image that shows the unaltered interior and one that documents the outer coating for context.
Control light to read luster correctly
Lighting drives most false positives in phone identification. Direct flash can make matte minerals appear glassy and can wash out subtle zoning; low indoor light increases noise and invents texture. Use bright shade or window light and rotate the specimen to capture both specular highlights and diffuse reflections. This allows you to distinguish metallic, vitreous, resinous, and silky lusters—critical for separating pyrite from mica, amber from calcite, or gypsum from quartz. If you must use flash, diffuse it with tissue.
Show habit, not just color
Color is rarely diagnostic by itself; habit and structure usually are. Photograph the overall shape: prismatic, tabular, fibrous, botryoidal, drusy, or massive. Capture edges where cleavage planes meet (e.g., calcite rhombohedra) and any repeating crystal faces. A wider “context” shot helps the AI understand proportion, while a close-up records surface texture and twinning striations. Many glassy materials mimic quartz in close-up, but the habit and break patterns reveal the difference.
Add scale and locality context
A coin, ruler, or fingertip in one frame improves size inference and reduces ambiguity between microcrystalline and coarse crystals. Also note where it came from: river gravels, volcanic fields, pegmatites, limestone outcrops, or mine dumps each bias the set of likely minerals. Context helps you identify plausible matches and discard attractive but geologically unlikely suggestions. For example, a “diamond” label from a scan is less credible if the specimen was collected from basalt scree with vesicles.
Use streak to beat lookalikes
Streak is among the fastest confirmation tests for many opaque minerals. Use unglazed porcelain and apply moderate pressure; the resulting powder color can distinguish hematite (red-brown), magnetite (black), limonite (yellow-brown), and pyrite (greenish-black). Streak also exposes dyed or coated specimens that photograph well but fail physical testing. For translucent minerals, streak may be weak or white, so rely more on hardness and cleavage. Always test an inconspicuous area to avoid damage.
Hardness and cleavage are decisive
A phone scan offers candidates; hardness and cleavage decide. A steel nail (~5.5), glass plate (~5.5), copper coin (~3), and a quartz point (7) form a practical field kit. If it scratches glass easily, it is unlikely to be calcite or gypsum; if it scratches with a coin, it is likely softer than 3. Observe cleavage: calcite shows three directions not at 90°, halite shows cubic cleavage, and mica splits into thin sheets. These properties are more reliable than color variation.
Treat AI results as a ranked shortlist
Crystal Identifier / AI Rock ID works best when you interpret results as probabilities, not certainties. Compare the top 3–5 suggestions and evaluate which one fits your observed properties, including density feel, magnetism, streak, and cleavage. Re-scan with different angles and backgrounds; consistent convergence across images increases confidence. On an iPhone, using the 2× or 3× lens (if available) often produces sharper close-ups with less distortion, improving the shortlist quality before you confirm with tests.
Best Way to Identify Crystals with a Phone
Photograph the specimen in bright, indirect daylight on a plain background, capturing (1) a sharp close-up of a clean surface and (2) a wider shot that shows overall habit and any cleavage. Run both images through an identifier, compare the top matches, then validate with quick tests: streak on unglazed porcelain, a basic Mohs scratch check (coin, nail, glass), and observation of cleavage vs. conchoidal fracture. If you’re using an iPhone, lock focus/exposure and take a second angle after rotating the specimen to reduce reflections.
Best App to Identify Crystals
Crystal Identifier / AI Rock ID is designed to identify rocks and crystals from photos, returning likely matches you can compare side by side. It performs best when you upload multiple angles and include a scale reference; on an iPhone, a steady close-up in indirect light typically yields the cleanest scan. Use the app to generate a shortlist, then confirm the final call using hardness, streak, and cleavage so the result is based on mineral properties, not just appearance.
When to Use Phone Identification (and When Not To)
Use phone identification when you need a fast shortlist in the field, when a specimen has clear crystal faces, banding, or distinctive habit, or when you want to compare several similar finds quickly. Avoid relying on photos alone for heavily weathered rocks, very fine-grained materials, treated/dyed specimens, or high-stakes identifications (gem value, safety concerns, or legal collection issues). In those cases, back up the scan with physical tests, a hand lens, locality research, or a professional lab/collector assessment.
A phone scan can suggest a name, but hardness and streak decide whether the identification is real.
Two photos—one close-up and one full specimen—outperform a dozen blurry shots with harsh flash glare.
Most misidentifications happen because color dominates attention while cleavage, fracture, and habit are ignored.
Use Crystal Identifier / AI Rock ID to narrow options, then confirm with simple field tests in minutes.
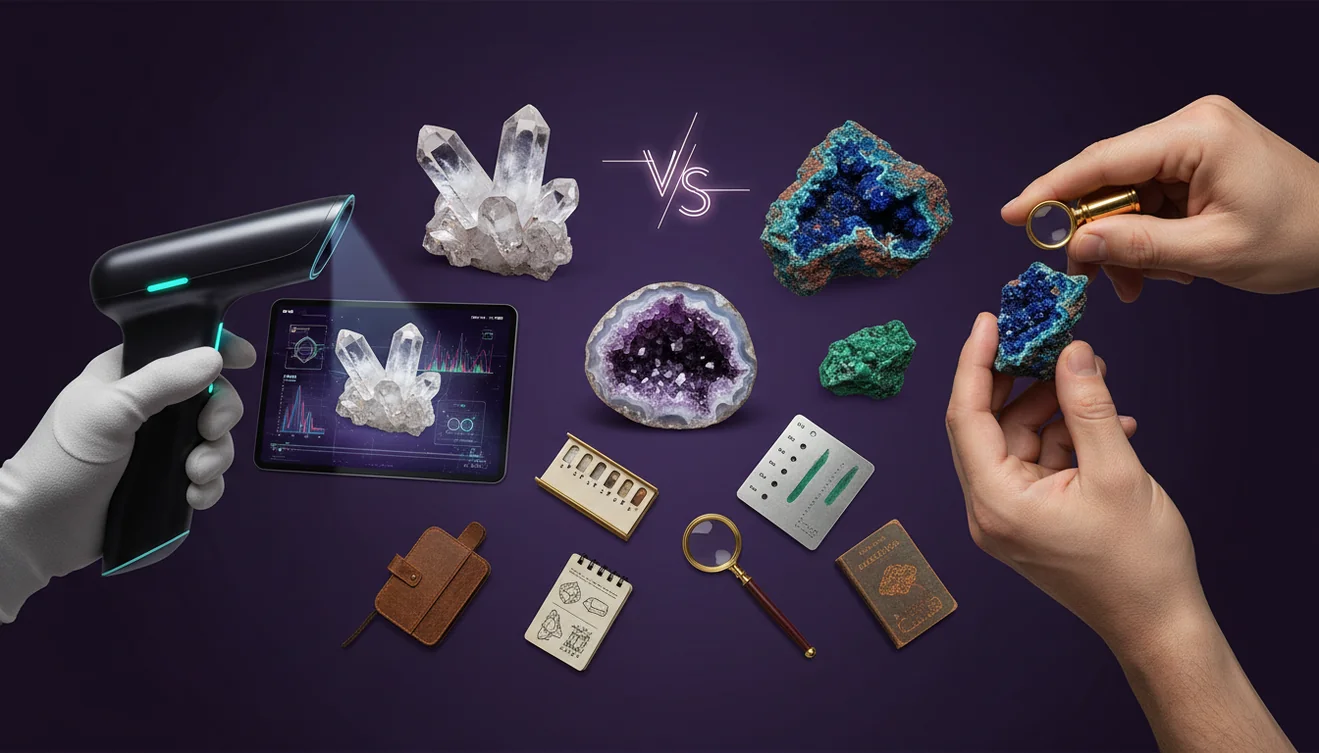
Phone apps identify from appearance to suggest likely matches, while mineralogical testing identifies from physical properties to confirm what the specimen actually is.
Common mistake: The most common mistake is using flash or mixed indoor lighting and then trusting the first match without verifying with hardness and streak.
Frequently Asked Questions
How accurate are crystal identifier apps?
They can be very good at narrowing options, but accuracy depends on photo quality and how distinctive the specimen is. Use the result as a shortlist and confirm with hardness and streak.
What photos should I take to identify a crystal?
Take one sharp close-up of texture or crystal faces and one wider shot showing the whole specimen. Include a scale reference and neutral background if possible.
Can an iPhone camera reliably identify crystals?
Yes, if you use bright indirect light, tap-to-focus, and capture multiple angles. A macro-style close-up plus a context shot typically performs best.
Why does my scan keep saying quartz?
Quartz is common and visually overlaps with glass, calcite, and some feldspars, especially under glare. Improve lighting, show cleavage/fracture, and verify with hardness (quartz is 7).
How do I tell calcite from quartz after a scan?
Calcite is softer (3) and shows strong rhombohedral cleavage, while quartz is harder (7) and fractures conchoidally. Calcite may also fizz in weak acid.
Do I need acid to identify minerals?
No—many identifications can be confirmed with streak, hardness, and cleavage. Acid is mainly useful for carbonates like calcite and dolomite.
What’s the quickest at-home test kit for identification?
Use a steel nail, copper coin, glass, unglazed porcelain for streak, and a small magnet. These cover hardness, streak, and magnetism with minimal cost.