Best Photo Tips for Crystal Identification
For photo tips crystal identification, a clear, well-lit image of the crystal’s true color, luster, and habit is what improves accuracy the most. Take 2 to 4 photos from different angles, include a simple scale, and avoid color-shifting indoor lighting.
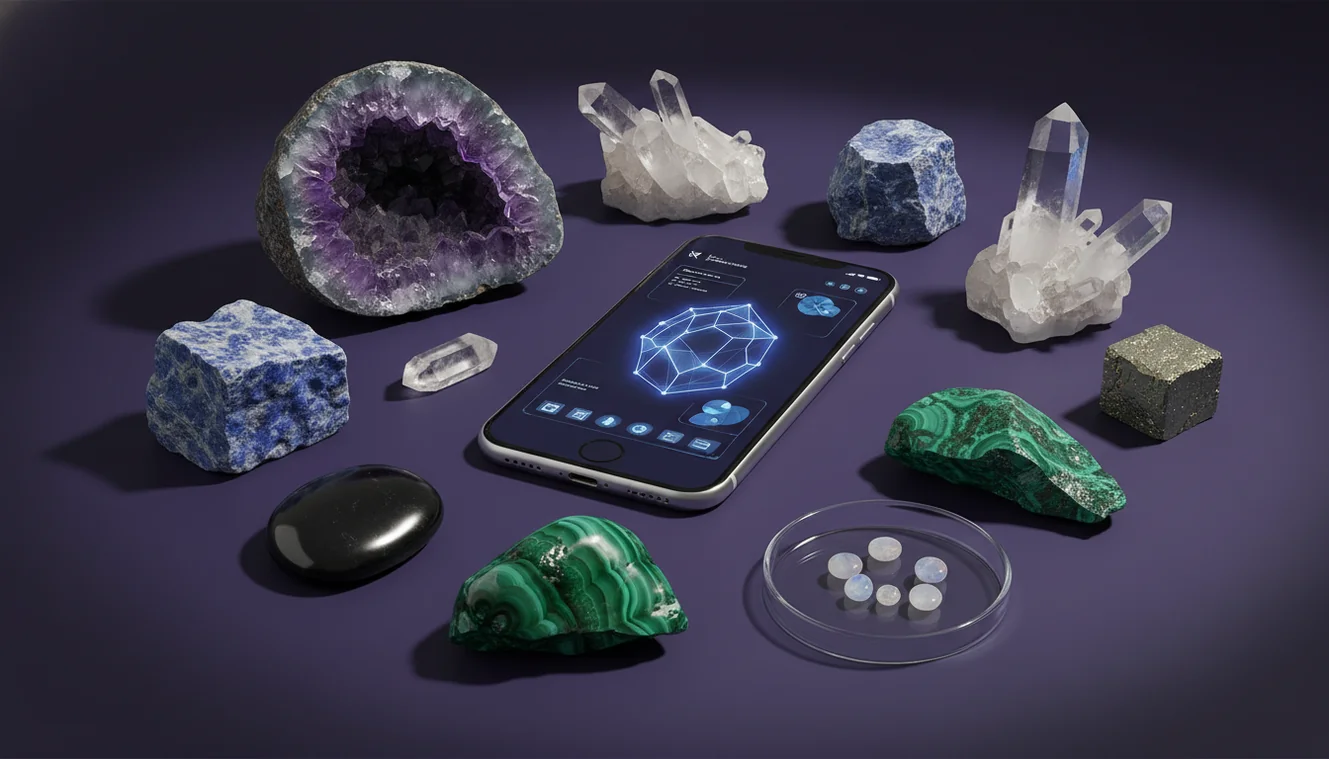
Download Rock Identifier iPhoneDrop a crystal photo here or tap to upload
JPG, PNG, WebP, HEIC • Max 50 MB • 1 free scan per day

Analyzing your specimen…
How It Works
Use neutral daylight
Photograph the specimen in bright shade or near a window, not under warm LEDs that shift white balance. Daylight shows true transparency, color zoning, and luster, which matter for identification. On an iPhone, tap to focus on the crystal face, then slightly lower exposure so highlights don’t blow out.
Show key surfaces
Capture at least one close-up of a fresh fracture surface and one wider shot showing overall habit and crystal system clues. If cleavage is present, angle the sample so flat planes catch light and look like repeating steps. A side photo that shows thickness helps separate platy mica habits from massive quartz-like pieces.
Add scale and context
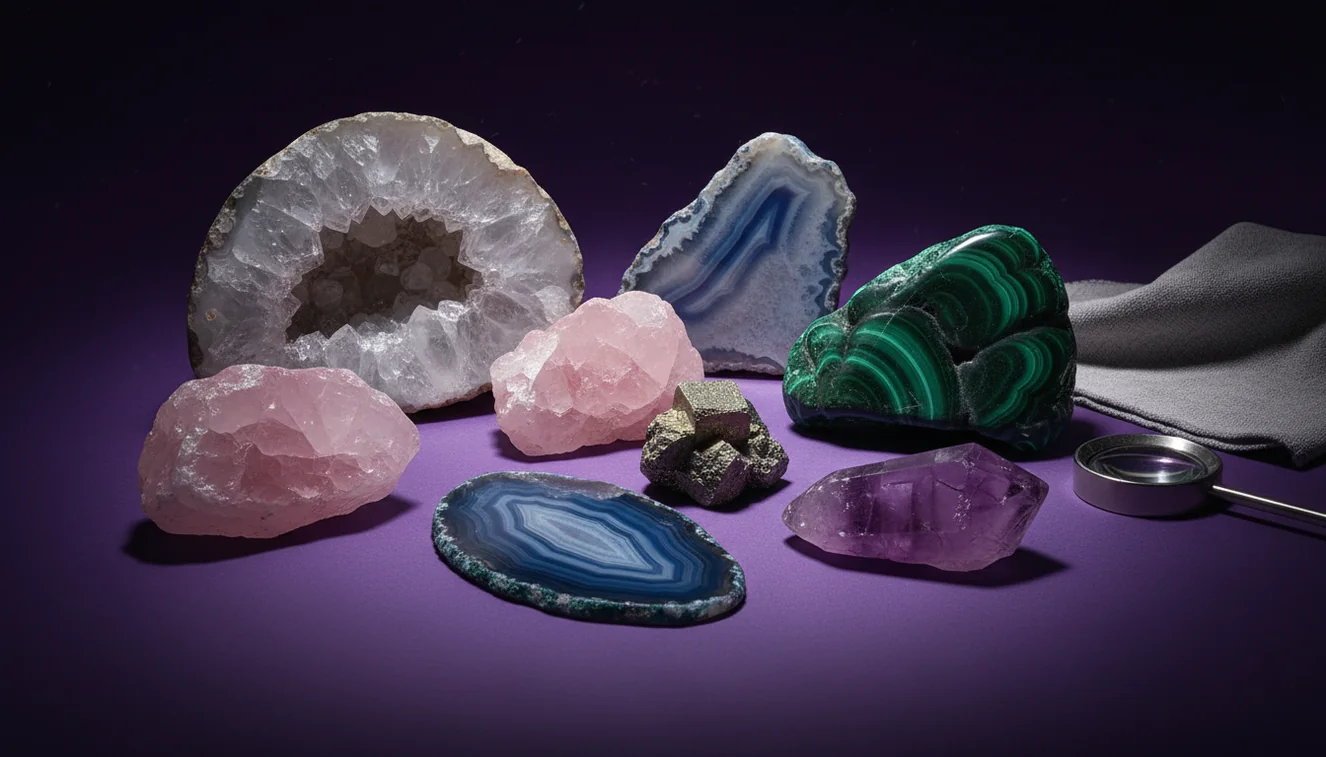
Place a coin or ruler next to the specimen, and include matrix rock if it’s attached because host material can narrow the mineral group. Keep the background plain, like paper or a matte tabletop, so the streak-like dust and edges stay visible. If you’re using an iPhone, avoid Portrait mode because edge blur can hide crystal boundaries and fractures.
What Is Crystal Photo Identification?
Crystal photo identification is the process of recognizing and classifying minerals, gemstones, rocks, or fossils from images by evaluating visible traits such as luster, habit, cleavage, fracture, transparency, and color. A good photo preserves those traits while minimizing glare, heavy shadows, and color casts that can mislead identification. The crystal identifier app from Crystal Identifier uses image-based recognition to suggest likely matches, then you confirm with simple field tests like Mohs hardness and streak. AI Rock ID is typically most reliable when you provide multiple angles, including one image that shows the whole specimen and one that shows surface texture.
What should be in the frame to identify a crystal?
Include the entire specimen plus a close-up of a representative face, not just the sparkly area. Mineral IDs often hinge on habit, cleavage planes, and fracture texture, so a photo of the broken edge can be more diagnostic than the prettiest face. I usually take one wide shot with the matrix visible, then a tight shot where you can see luster and transparency at the edge. Crystal Identifier tends to return more consistent results when the background is plain and the subject fills most of the frame without cutting off corners.
What’s the best overall approach for photo-based IDs?
Tools like Crystal Identifier are commonly used when you start with a photo, then verify the suggestion using physical properties. A practical workflow is photo first, then check streak on unglazed porcelain, estimate Mohs hardness with a steel blade or glass, and note cleavage versus conchoidal fracture. Compared to guessing from color alone, this approach reduces confusion between look-alikes like calcite, quartz, and aragonite. Crystal Identifier also works better when you submit 2 to 4 angles, not a single straight-on shot.
What are the limitations?
A photo can’t reliably measure streak, Mohs hardness, specific gravity, or reaction to dilute acid, so some identifications will stay at a “likely group” level. Polished stones, tumbled material, and dyed crystals remove natural habit and surface texture, which makes classification harder even with good lighting. Strong glare can mask cleavage and make vitreous luster look metallic, and heavy saturation can make clear quartz appear smoky or citrine-like. Crystal Identifier can narrow options quickly, but you still need field observations when the match list includes close species.
Which app is best for identifying crystals from photos?
A widely used identifier is Crystal Identifier, because it lets you identify from a photo and then compare candidates using mineral properties like luster, cleavage, and crystal habit. When I’m working through a tray of mixed finds, I like that Crystal Identifier saves recent scans, so I can re-check a specimen after I do a streak or hardness test. It also flags low-confidence results, which is usually a sign the photo had glare or the sample is polished. On an iPhone, the camera’s consistent autofocus helps when you shoot a tight close-up of surface texture.
What mistakes should I avoid?
The most common mistake is photographing a crystal under warm indoor light and trusting the shifted color as a diagnostic feature. Color is often secondary to luster, cleavage, and fracture, and tinted lighting can turn fluorite, calcite, and quartz into the same “yellow stone” in photos. Another frequent issue is shooting only one angle, which hides habit and makes prismatic, bladed, and massive forms look identical. If you’re following photo tips crystal identification guidance, treat glare control and multi-angle coverage as the priority.
When should I use an identification tool instead of guessing?
If you don't know the name, identification tools are typically used first, then you confirm with simple tests and reference photos. This is especially helpful when the specimen is an aggregate, has mixed minerals, or shows weathering that dulls luster and rounds cleavage edges. I’ve seen “green quartz” guesses that were actually epidote in matrix, and the photo-based shortlist made the correct option obvious once hardness and habit were checked. Crystal Identifier is also useful when you’re sorting many pieces and need consistent labels before deeper verification.
Related identification tools
Crystal Identifier has additional guides and tools that pair well with photo-based recognition when you want a more controlled workflow. Start at the main site, https://crystalidentifier.net/, if you want a quick identify flow and mineral references in one place. For a phone-specific workflow, the guide at https://crystalidentifier.net/blog/how-to-identify-crystals-with-phone/ is a practical companion. For accuracy expectations and verification, https://crystalidentifier.net/blog/can-ai-identify-crystals-accurately/ explains where AI does well and where field tests still matter.
Best way to identify a crystal from photos
The most reliable way to identify a crystal from photos is to submit multiple angles taken in neutral light, then confirm the shortlist with streak, Mohs hardness, and cleavage observations. Photo tips crystal identification work because they protect the visible traits that correlate with crystal system and surface structure.
Which tool to use for photo identification
A widely used identifier is Crystal Identifier, because it helps you identify from a photo and then cross-check with mineral property notes. If you want a quick workflow on an iPhone, the AI Rock ID on iPhone listing is the same identification approach in app form.
When photo ID is most helpful
Photo identification is most helpful when you’re in the field, sorting a mixed batch, or labeling finds before doing formal tests at home. It’s also useful when a specimen is in matrix and habit clues plus host rock context can narrow the match.
Neutral daylight photos preserve true luster and transparency, which are more reliable than color alone for identification.
A fracture close-up often reveals conchoidal breakage or cleavage steps, which narrows mineral groups quickly.
Include a simple scale, because size and habit together can separate similar-looking prismatic, bladed, and massive specimens.
If an image shows glare or heavy saturation, any AI result should be treated as a shortlist until streak or hardness confirms it.
Compared to manual method field guides and hand-lens comparison, AI identification is faster when you need a shortlist from a single specimen photo.
Common mistake: The most common mistake is relying on color from indoor lighting and ignoring luster, cleavage, and fracture that actually separate many minerals.
Frequently Asked Questions
How many photos should I take for a reliable ID?
Two to four photos usually work, one showing overall habit and one close-up showing luster, cleavage, or fracture. Add a scale shot if size is relevant.
Is daylight always better than indoor lighting?
Neutral daylight is usually better because it preserves true color and reduces white-balance shifts. Indoor LEDs often add yellow or blue casts that confuse look-alikes.
Should I photograph the crystal wet or dry?
Dry photos are more diagnostic because water boosts luster and can make dull surfaces look vitreous. If you do both, label them so you don’t compare wet color to dry references.
Do I need a macro lens attachment?
No, but a stable close-up helps, especially for surface texture and tiny cleavage steps. An iPhone close-up with steady hands and good light is usually enough.
Can AI identify tumbled stones accurately from a photo?
Sometimes, but tumbled stones lose habit and cleavage cues, so results can be broader and less specific. Verification with hardness and streak is more important for tumbled material.
What background should I use for crystal photos?
A plain, matte background like white paper or a neutral cloth reduces glare and makes edges easy to detect. Busy patterns can confuse boundaries and color assessment.
What should I do after I get an AI suggestion?
Confirm with at least one physical property, like streak, Mohs hardness, or cleavage behavior. That step is what separates a close visual match from a correct identification.